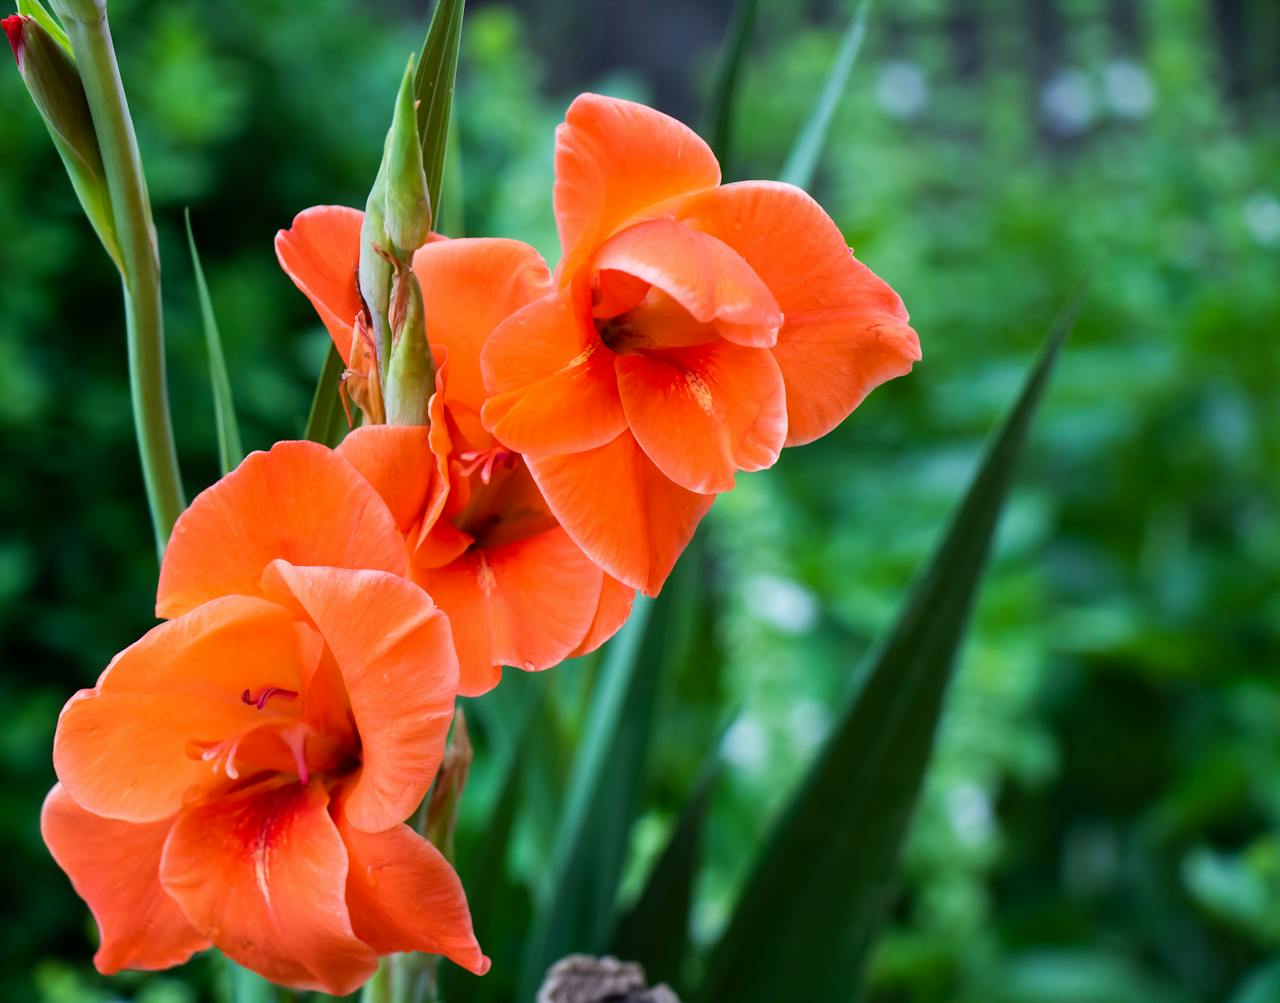
Planting Amaryllis Bulbs: A Step-by-Step Guide
Amaryllis are a great way to add color and beauty to your home, especially during the winter months. Their impressive flowers and easy care make them an excellent choice for both novice and experienced gardeners. In this blog we explain step by step how to plant amaryllis flower bulbs for the best results.
1. Choose the Right Bulbs
Make sure you buy high-quality amaryllis bulbs. They should feel firm without stains or mold. At Amaryllis4you you will find carefully selected bulbs that guarantee beautiful flowers.
2. Preparing the Pot
Choose a pot slightly larger than the bulb, with good drainage holes. Fill the pot with a well-drained potting soil, preferably a mixture specifically for flower bulbs or a mix of potting soil and perlite.
3. Planting the Bulbs
Plant the amaryllis bulbs with the point upwards, leaving about half of the bulb above the ground. This helps to prevent rot and ensures strong growth. Press the soil lightly around the bulb.
4. Watering and Care
After planting, give the bulbs a good watering, but make sure that the soil does not become too wet. Place the pot in a warm spot with indirect sunlight. Amaryllis need a temperature between 20-22°C to grow well.
5. Growth and Bloom
After about 6-8 weeks the amaryllis will start to grow and bloom. Make sure the pot is always slightly moist, but not soggy. If the flowers start to fade, you can move the plant to a cool, dark place to extend the bloom time.
6. Aftercare
When the flowers wilt, cut off the flower stems but leave the foliage until it is completely yellow. This helps the bulb store nutrients for the next season. Store the bulbs in a cool, dry place and replant them next year.
With these simple steps you can enjoy the beautiful amaryllis from Amaryllis4you in your own home. Happy planting!
